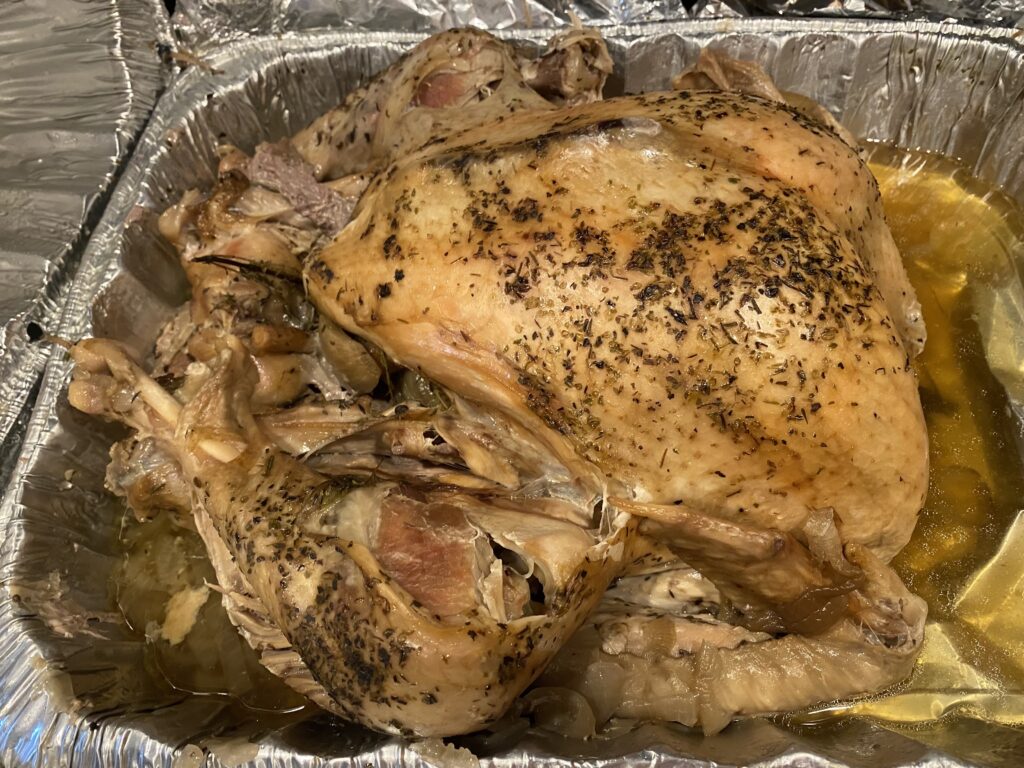
I hope you had a wonderful Thanksgiving holiday 🙂 We celebrated our first Thanksgiving on Maui and we tried an imu roasted turkey! Continue reading to learn more about the history, process, and how it turned out!
History
An imu (pronounced “e-moo”) is an underground oven. It looks like a large pit in the ground, with hot lava rocks at the bottom, banana leaves, your food on top, and then a cover of more banana leaves and dirt.
Many people have heard of kālua pork. Kālua means “to cook in an underground oven” AKA an imu! Kālua is an adjective that describes the cooking method – you can have kālua pig, kālua turkey, etc. You can also use an imu to cook breadfruit, bananas, sweet potatoes, taro, chicken, and fish. Foods cooked in this manner are commonly served at luaus.
This is an ancient form of cooking brought to Hawai’i from the Polynesian Islands. The Hawaiian Islands did not have a lot of edible plants or land animals before settlers arrived. Pigs, once introduced, were highly valued. Women were strictly forbidden from eating pigs according to kapu, the ancient Hawaiian code of conduct (source).
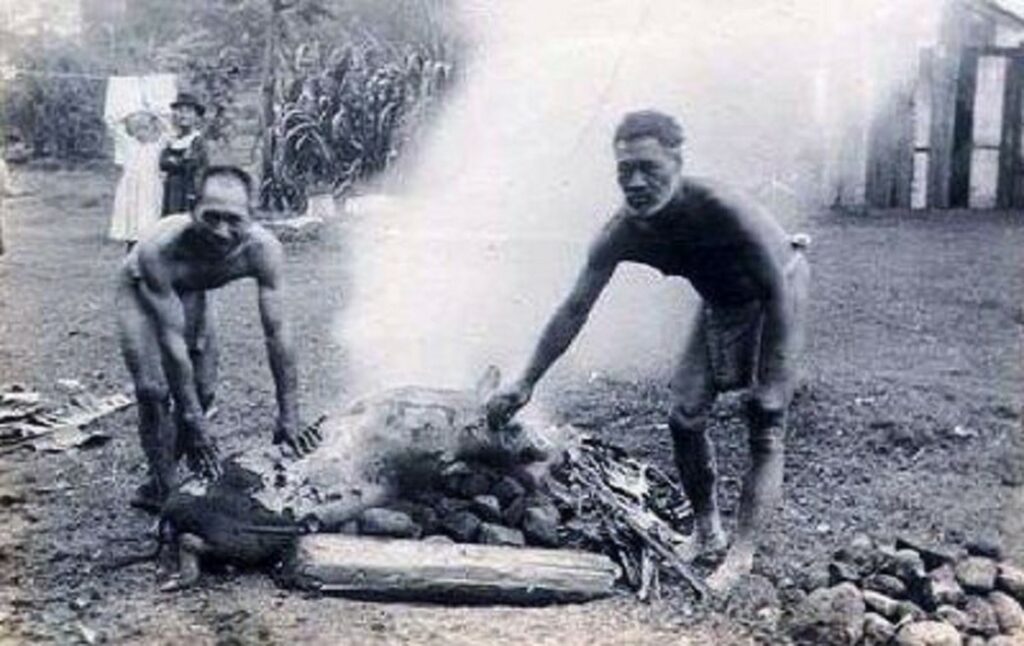
You may notice that other cultures have similar methods of cooking- the Māori people in New Zealand have hāngī and New Englanders have clambakes! We really are more alike than we are different 🙂
Process
To be clear… we were not at all involved in the making of the imu. Building an imu involves digging a large pit in the ground, building a fire at the base, and adding lava rocks. Once the rocks are nice and hot, they are spread across the bottom of the pit and covered with banana leaves. Our turkeys were added on top followed by more banana leaves and banana stocks for moisture followed by dirt and a tarp to cover it while cooking.
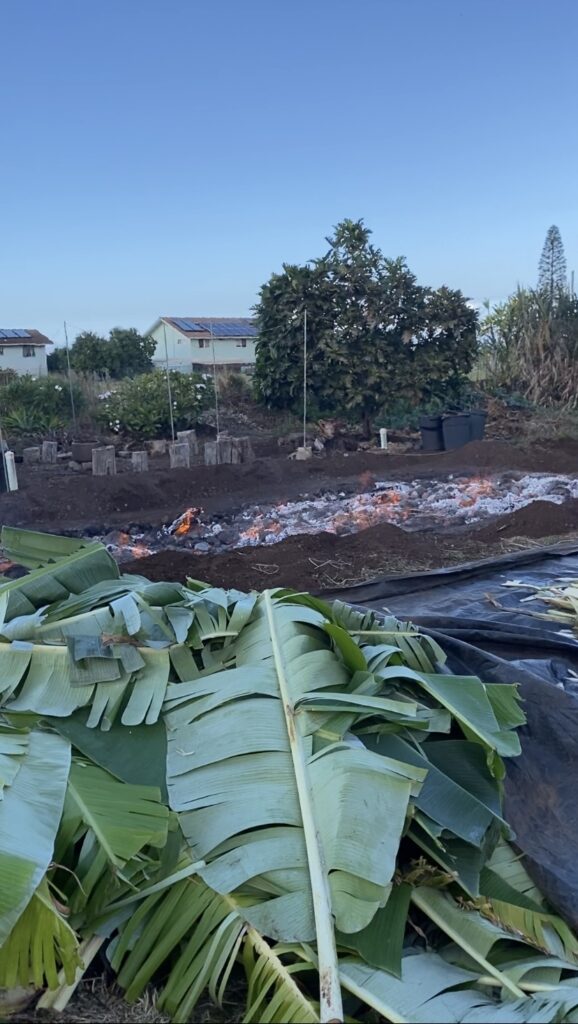
There is a church nearby that offers to cook turkeys for the community as their annual fundraiser. They built a huge imu – more on that below!
Tuesday: To prepare the turkey, I did a wet brine for 24 hours. I followed this recipe.
Wednesday: After the brining, we transferred the turkey to a disposable aluminum pan, added butter to the turkey skin and poured some of the brining solution on the bottom of the pan. Then we covered the turkey with another aluminum pan like a hat and tied it very tightly with string. To be extra safe, we wrapped it with a few layers of heavy duty aluminum foil and more string. We didn’t want the turkey to leak or lose any moisture.
We dropped the turkey off on Wednesday afternoon. The operation was very organized – volunteers took our name and contact information, they tagged our turkey with a number, and then gave us a sticky note with the number (we were #25). We were told to come back the next day to pick up our cooked turkey. It was going in the ground for 12 hours.
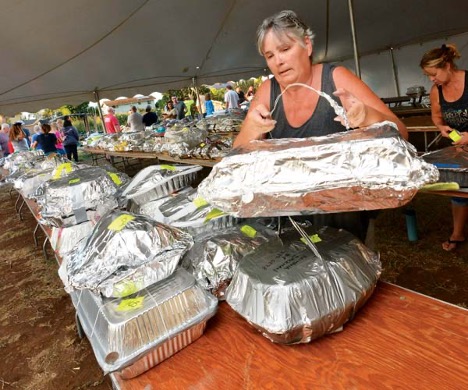
Thursday: We picked up our turkey Thursday morning. All the turkeys were lined up on long tables when we arrived. All we had to do was show our number and our turkey was brought right up. The first thing I noticed was how delicious it smelled! The next thing I noticed was that the pan did not puncture or leak- success! Guess how many other turkeys were there… 470!! They had 450 people drop off turkeys and they cooked an extra 20 turkeys to give to community members in need. You can read more about the operation here. We kept ours covered until it was close to serving.
Results
Without even unwrapping the turkey, you can smell the smokiness! It smelled really good- reminiscent of a barbecue. When we took the cover off, you could see a bunch of meat that had melted off the bones. (Note: This method will not give you a “display” turkey!) Right before serving, we added some butter and put it under the broiler to warm up and brown the skin.
We all agreed that you could appreciate the smokey flavor. The dark meat was done perfectly to my taste but we all agreed that the turkey breast was a little dry. I think this might be due to the fact that they had 470 turkeys- it would be really hard to control the heat so that they are all removed at exactly the right time. I also think I need to add more butter next time- isn’t that always the solution? I may also try a dry brine – this recipe looked good. Do you have any tips?
All in all, we had a lot of fun learning something new and enjoyed our meal! We will do it again next year with some modifications to the preparation. Let me know if you have any questions about the process 🙂
Leave a Reply